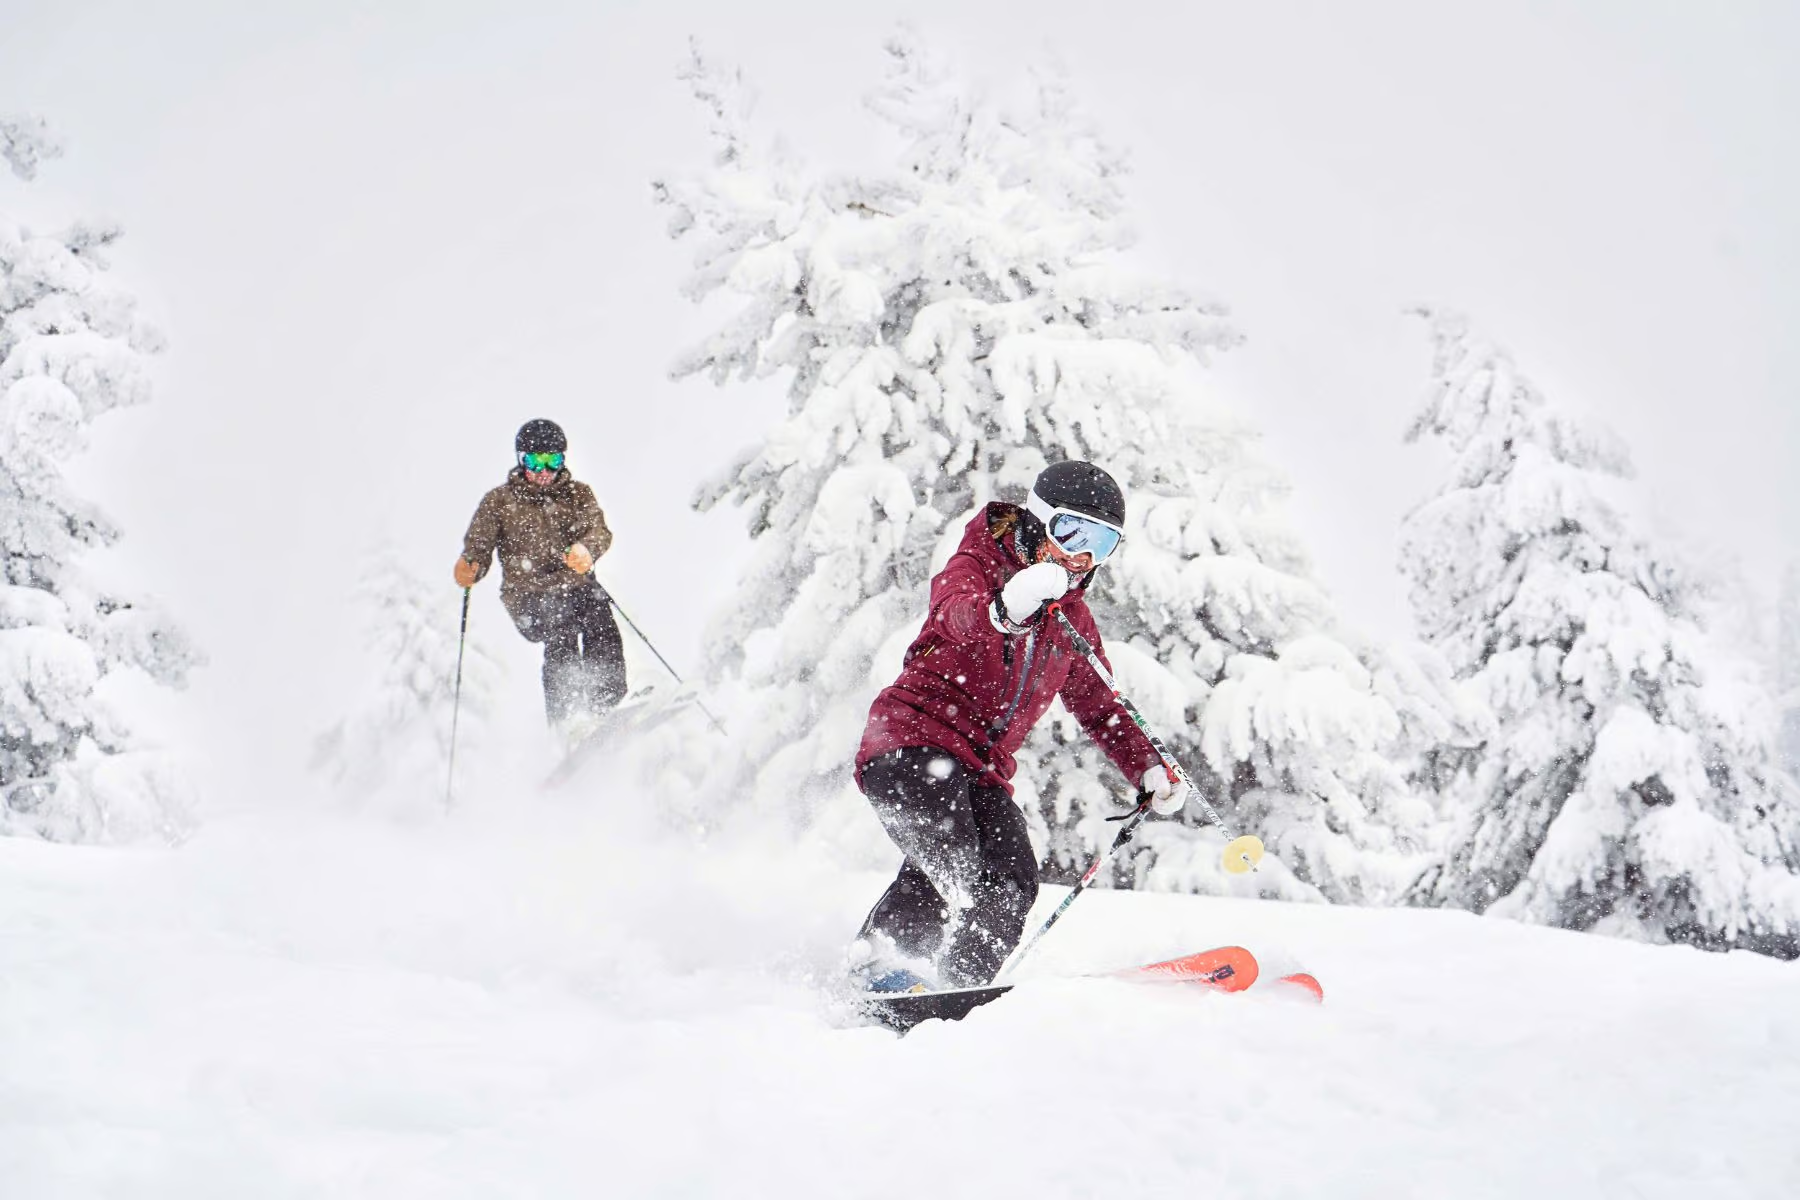
The Ultimate Guide to Dressing for the Slopes (Without Freezing or Overheating)

Layering isn’t just a buzzword. A gear expert explains the simple three-layer system that will keep you perfectly comfortable in any weather.
You’re going to sweat. Even when it’s 10 degrees out.
What you do with that sweat will make or break your day. It’s the single most important factor in whether you stay warm and comfortable on the mountain, or end up a shivering, miserable mess by lunchtime.
I learned this the hard way a few years ago during a gear-testing trip in Utah. It was a classic blizzard day. About 15 degrees, wind howling, snow coming down sideways. Perfect conditions to see if the expensive new gear was actually worth the money.
I was wearing a thin merino wool base layer, a lightweight fleece, and my trusty Arc’teryx shell. My friend, Tom, showed up in a massive, puffy, insulated ski jacket. The kind you see in department stores that looks like a sleeping bag with sleeves. It probably cost him $400. “I’m ready for anything,” he said, looking like the Michelin Man.
On the first chairlift ride up, he was smug. I was just in my shell and fleece, and he was in his fortress of puff. On the first run down, a steep, powdery black diamond, we were both working hard. By the time we got to the bottom, I was warm, but dry. I could feel the moisture from my skin being pulled away by my base layer.
Tom, on the other hand, was a mess. “Man, it’s hot in this thing,” he puffed, unzipping his jacket to reveal a dark, wet patch on the cotton t-shirt he was wearing underneath. Red flag number one.
By 11 AM, after our third run, he was done. While we were standing in the lift line, I saw him shivering. “This jacket is garbage,” he chattered through his teeth. “I’m soaked.”
He was soaked, alright. But it wasn’t from the snow. He had been sweating on that first run, and that massive, non-breathable jacket had trapped all that moisture against his skin. His cotton t-shirt was drenched. He was a walking science experiment in evaporative cooling. He was losing body heat at an alarming rate because he was wet from the inside out.
We had to call it a day and go in. His expensive vacation day was ruined. Not by the cold, but by sweat. And a cotton t-shirt.
The secret to comfort is not one big, thick jacket. It’s smart layers. It’s a simple system that works with your body to manage moisture and regulate temperature. And once you understand it, you’ll never be cold or wet on the mountain again.
Part 1: The Three-Layer System
This is the foundation of all outdoor dressing. It’s not a marketing gimmick. It’s science. It consists of a base layer, a mid-layer, and an outer layer.
Layer 1: The Base Layer (The Wicker)
Its Only Job: To pull sweat away from your skin.
Think of your base layer as the bouncer at a club. Its only job is to get moisture (the troublemaker) away from your skin and out the door. It does not care about warmth. It is all about moisture management.
This is why your cotton hoodie is your worst enemy. Cotton is hydrophilic, meaning it loves water. It absorbs sweat like a sponge and holds it against your skin, sucking the warmth right out of your body. A wet layer of cotton against your skin can cool you down 25 times faster than a dry layer. Never, ever wear cotton as your first layer.
You have two good choices:
Good: Synthetics (Polyester, Nylon)
These are plastic-based fibers that are hydrophobic, meaning they hate water. They can’t absorb moisture, so they actively push it away from your skin to the outside of the fabric where it can evaporate. They’re durable, affordable, and dry very quickly. The downside? They are a breeding ground for bacteria, which is why they can get stinky after a day of use. Brands like Patagonia’s Capilene and Helly Hansen’s Lifa are legendary for a reason.
Better: Merino Wool
This is nature’s miracle fiber. Merino wool is incredibly soft, and its fibers have a unique structure. The inside of the fiber can absorb moisture vapor (your sweat before it even turns to liquid), while the outside of the fiber remains dry to the touch. It can absorb up to 30% of its weight in moisture before it even feels wet. It’s also thermoregulating, meaning it helps keep you warm when it’s cold and cool when it’s warm. And the best part? It’s naturally antimicrobial, so it doesn’t stink. You can wear a good merino wool base layer for days without washing it. Brands like Smartwool or Icebreaker are the gold standard.
Your base layer should fit snugly, like a second skin, to be effective. If it’s loose, it can’t do its job.
Layer 2: The Mid-Layer (The Insulator)
Its Only Job: To trap your body heat.
This is your warmth layer. Its job is to create pockets of air that are warmed by your body, keeping you insulated from the cold. But that layer is useless if you trap all that moisture from the base layer with the wrong insulation. Your mid-layer must also be breathable, allowing that sweat vapor to continue its journey to the outside world.
You have three main choices:
Good: Fleece
Fleece is a synthetic material that is lightweight, breathable, and insulates even when it gets a little damp. It’s also very affordable and durable. It comes in different weights (100, 200, 300). For skiing, a 100-weight or 200-weight fleece jacket is a workhorse of any layering system. It’s simple, effective, and almost indestructible.
Better: Down Puffy
Down (from geese or ducks) has the best warmth-to-weight ratio of any insulator. It’s incredibly light and compressible. However, its major weakness is moisture. When down gets wet, it clumps together and loses all of its insulating properties. A down puffy is a great choice for very cold, dry days in places like Colorado or Utah, but a poor choice for wet, snowy conditions unless it’s under a completely waterproof shell.
Best: Synthetic Puffy
Synthetic insulation (like PrimaLoft or Coreloft) is designed to mimic the properties of down, but it has one huge advantage: it continues to insulate even when it gets wet. It’s slightly heavier and less compressible than down, but its performance in mixed conditions makes it the most versatile choice for a ski mid-layer. This is the piece you can trust in any weather, from a dry cold snap to a wet blizzard.
Layer 3: The Outer Layer (The Protector)
Its Only Job: To protect you from wind and water.
This is your armor. Your shell. It needs to do two things perfectly: keep wind and snow out, and let the moisture that your base layer and mid-layer have been working so hard to move, escape.
This is where you see terms like “waterproof” and “breathable.”
Waterproof ratings are measured in millimeters (mm). It’s a measure of how much water pressure the fabric can withstand before it leaks. For a deeper dive, check out this guide to waterproof ratings.
- 10,000mm (10k): This is good for light snow and good weather conditions. It will keep you dry in a quick storm, but might soak through in a prolonged, wet blizzard.
- 20,000mm (20k): This is what you want for most ski days, including moderate to heavy snow. It’s the sweet spot for performance and price.
- Gore-Tex (28k+): This is the top-of-the-line, offering the best waterproofing and breathability, especially for wet, heavy snow like you find in the Pacific Northwest or for backcountry touring where you’re generating a lot of heat.
Breathability is measured in grams (g). It’s how much water vapor can pass through a square meter of fabric in 24 hours. Anything over 10,000g is good. 20,000g is excellent.
Your outer layer can be a simple, uninsulated “shell,” which is the most versatile option, or an insulated jacket. If you get an insulated jacket, you’ll need a lighter mid-layer. A shell gives you more flexibility to adapt to changing conditions.
Part 2: Beyond the Big Three
Your core is covered. But what about your extremities? They are often the first to get cold.
Socks: The Unsung Heroes
Never, ever wear cotton socks. I don’t care if they’re your lucky socks. They will ruin your day.
Get one or two pairs of thin, merino wool ski socks. Not thick socks. This is the biggest mistake people make. They think thicker socks mean warmer feet. It’s the opposite. Thick socks bunch up, create pressure points, and cut off circulation, which makes your feet colder. Your boots are already insulated. The sock’s job is to wick moisture, not provide warmth. A thin sock does this best and allows for the best possible boot fit.
Gloves vs. Mittens
The choice is simple.
Mittens are warmer. By keeping your fingers together, they share heat. If you have chronically cold hands, get mittens. The downside is less dexterity.
Gloves offer more dexterity. It’s easier to zip zippers, adjust your goggles, and open snack bars with gloves on. The downside is your fingers are isolated and can get colder.
Many people now use a hybrid “lobster” or 3-finger glove, which combines the warmth of a mitten with some of the dexterity of a glove. For the best of both worlds, look at a quality brand like Hestra or Black Diamond.
Head and Neck
You lose a significant amount of heat through your head. A helmet provides warmth and, more importantly, safety. But what about your face and neck?
A **neck gaiter** or **balaclava** is essential. It protects your face from windburn and frostbite. A thin wool or synthetic one is perfect. You can pull it up over your nose on the cold chairlift ride and pull it down when you’re skiing.
The Helmet/Goggle Connection
Your helmet and goggles should work as a single system. When you try them on, there should be no gap between the top of your goggles and the brim of your helmet. That gap is called a “gaper gap” or “forehead freeze,” and it’s a dead giveaway of a beginner. More importantly, it’s a great way to get a brain freeze.
When you buy goggles, bring your helmet with you to ensure a perfect fit. Or buy them from the same brand, as they are often designed to work together.
Part 3: Sample Outfits for Different Conditions
Here’s how to put it all together. Notice how the base and outer layers stay the same. You adapt to the temperature by changing your mid-layer.
Scenario 1: Cold, Clear Bluebird Day (10°F / -12°C)
- Base Layer: Mid-weight merino wool top and bottom.
- Mid-Layer: A synthetic puffy jacket or a 200-weight fleece.
- Outer Layer: A good shell jacket and pants (10k/10k is fine).
- Extremities: Thin merino socks, warm mittens, a balaclava.
Scenario 2: Storm Day (25°F / -4°C with heavy, wet snow)
- Base Layer: Lightweight synthetic top and bottom.
- Mid-Layer: A light fleece or a very breathable synthetic vest. You’ll be working harder in the deep snow and want less insulation.
- Outer Layer: A high-quality shell (20k/20k or Gore-Tex) is critical. Open your pit zips to dump heat.
- Extremities: Thin merino socks, waterproof mittens with a removable liner you can dry out at lunch.
Scenario 3: Spring Skiing (40°F / 4°C and sunny)
- Base Layer: A lightweight merino or synthetic t-shirt.
- Mid-Layer: Skip it. You don’t need it. Pack a very light fleece in your backpack just in case.
- Outer Layer: Just your shell jacket, with the pit zips wide open. Or even just a softshell jacket if it’s not windy.
- Extremities: Thin socks, lightweight spring gloves.
Conclusion: Your Simple Checklist
Dressing for the mountain isn’t complicated. It’s just a system.
1. Base Layer: Wicks sweat. (Merino or Synthetic). NO COTTON.
2. Mid-Layer: Traps heat. (Fleece or Puffy). This is your thermostat.
3. Outer Layer: Protects from wind/snow. (Waterproof/Breathable Shell).
Master this system, and you’ll be comfortable no matter what the mountain throws at you. You’ll be able to stay out longer, ski harder, and have more fun.
And you’ll never be like my friend Tom, shivering in the lodge at 11 AM, his day ruined by a cotton t-shirt.